Official hole guide · Verbatim course-site wording · user-supplied
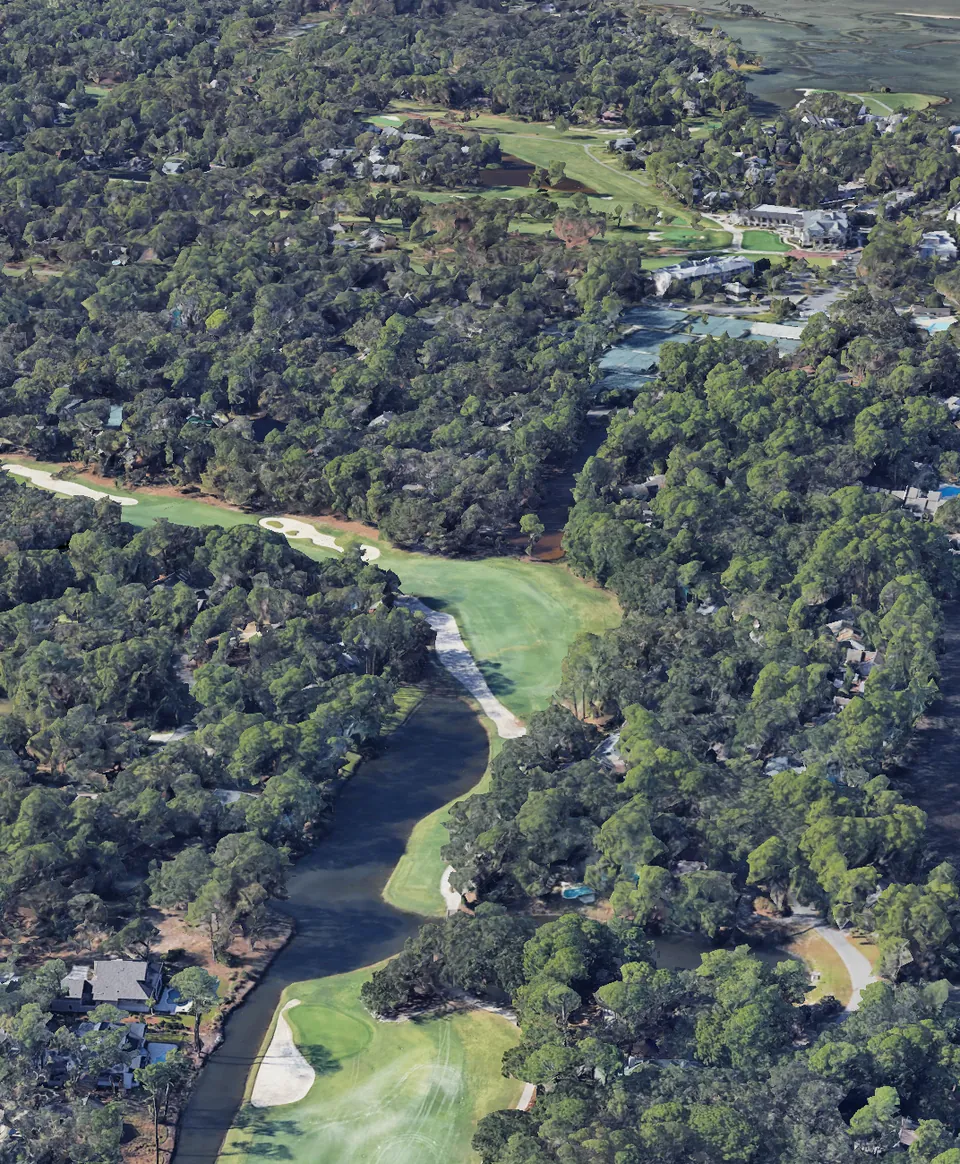
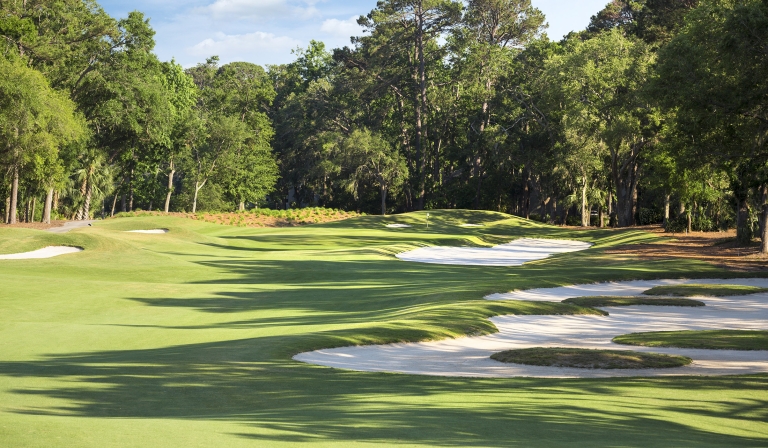
Avoiding the cross bunker on this dogleg left par five is a must. A controlled second shot to avoid the bunkers will leave an approach to one of the easier greens on the course. However, a bunker guards the right side and shots missing left will run into a collection area leaving a tricky pitch.
Open official wording on Sea Pines ↗2026 Blue tee · official550yards
Landing target270window ≈98 yd wide
Widest / safest landing windowMap-measured · planning grade
Hit the tee shot 265-275 yards from Blue to center the widest mapped first-shot window—approximately 98 yards across, leaving roughly 280 yards to green center.
Recon cue
Plan three shots around the cross bunker. Favor center-left only if the collection area remains out of play.
Primary danger
Cross bunker · right greenside sand · left collection
Dye617
Blue · playing tee550
White516
Gold448